The sizing of barcodes
Sizing a barcode
A priori, there is no relation between height and width of the bars in a barcode... except when it is obtained by a text composed of characters represented by a font: when we modify the height of a text, we also modify its width. This is a hallmark of barcode font technology, but TransBar has gone beyond it by allowing you to get barcodes of almost any size by separating the height and width of the symbol.
Following a logic that will appear to you soon, this chapter first deals with adjusting the height of the bars before dealing with adjusting their width.
Choice and adjustment of the height of the bars
There are two reasons to choose the highest possible height:
- better reading comfort provided by greater relative positioning tolerance between reader and barcode
- better barcode robustness, which will be able to withstand a large stain, tear or masking while leaving the bars readable on a preserved line.
The height of the bars will essentially depend on the choice of font, or rather the choice of its "nominal size". For reference, the setting that allows text to appear larger or smaller in a layout is called "size". For example, the text of a page will be in "size" 10 while its title will be in "size" 18.
Barcode fonts are (almost) like any other fonts and all sizes can be chosen in layout software, but many of these sizes will provide poor quality or even unreadable barcodes as a result of micro-defects. On this subject, see the chapter on securisation.
To simplify this choice, TransBar fonts have a "nominal" size that we recommend to use by default. This nominal size appears as two digits in the font name. For example, it is recommended to use the font EanT48L in size 48.
Each used in their nominal size, the different fonts usable in a specific case will provide symbols of perfectly equal widths. Below, barcodes obtained with the font EanT24L in 24 points, the font EanT30L in 30 points, the font EanT36L in 36 points, etc:

Choice and adjustment of the width of the bars
After having roughed the choice of the bar height by the choice of the font, it is possible to modify the size to adapt the width, for example below, barcode obtained with the font EanT36L and size 30:

In doing so, both the height and the width are modified, and there is therefore a risk of no longer inscribing the bars exactly in the resolution of the printer, leading to the micro-defects previously mentioned. Let's take three examples that we magnify by representing them on the printer's virtual dot grid:

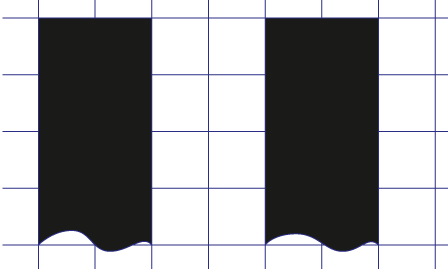
The barcode is obtained here in 20-point size:
each bar, black or white, is represented
by exactly two printer dots,
defects are minimized.

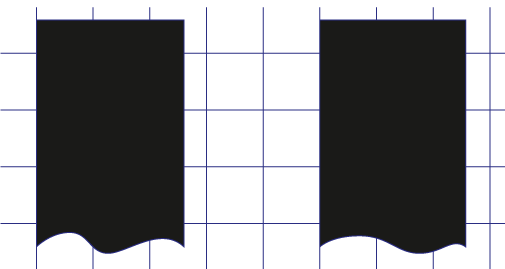
The barcode is obtained here in 25 point size:
each bar, black or white, is represented
theoretically by two and a half printer points.
This is physically impossible and in practice,
they will be represented once by two points,
once by three points according to the rounding calculations.

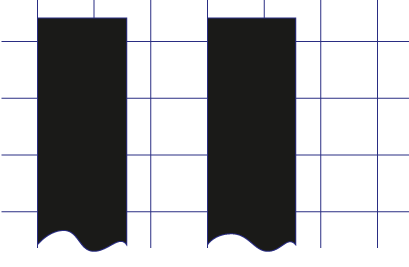
The barcode is obtained here in 15-point size:
each bar, black or white, is represented
theoretically by one and a half printer points,
which brings us back to the previous case.
In the example above, only 10-point, 20-point, 30-point and other multiples of ten point will provide barcodes with minimized defects. In practice, these calculations are much more complex, so starting with version 4.1, TransBar includes a calculation module.
The TransBar sizing calculation module
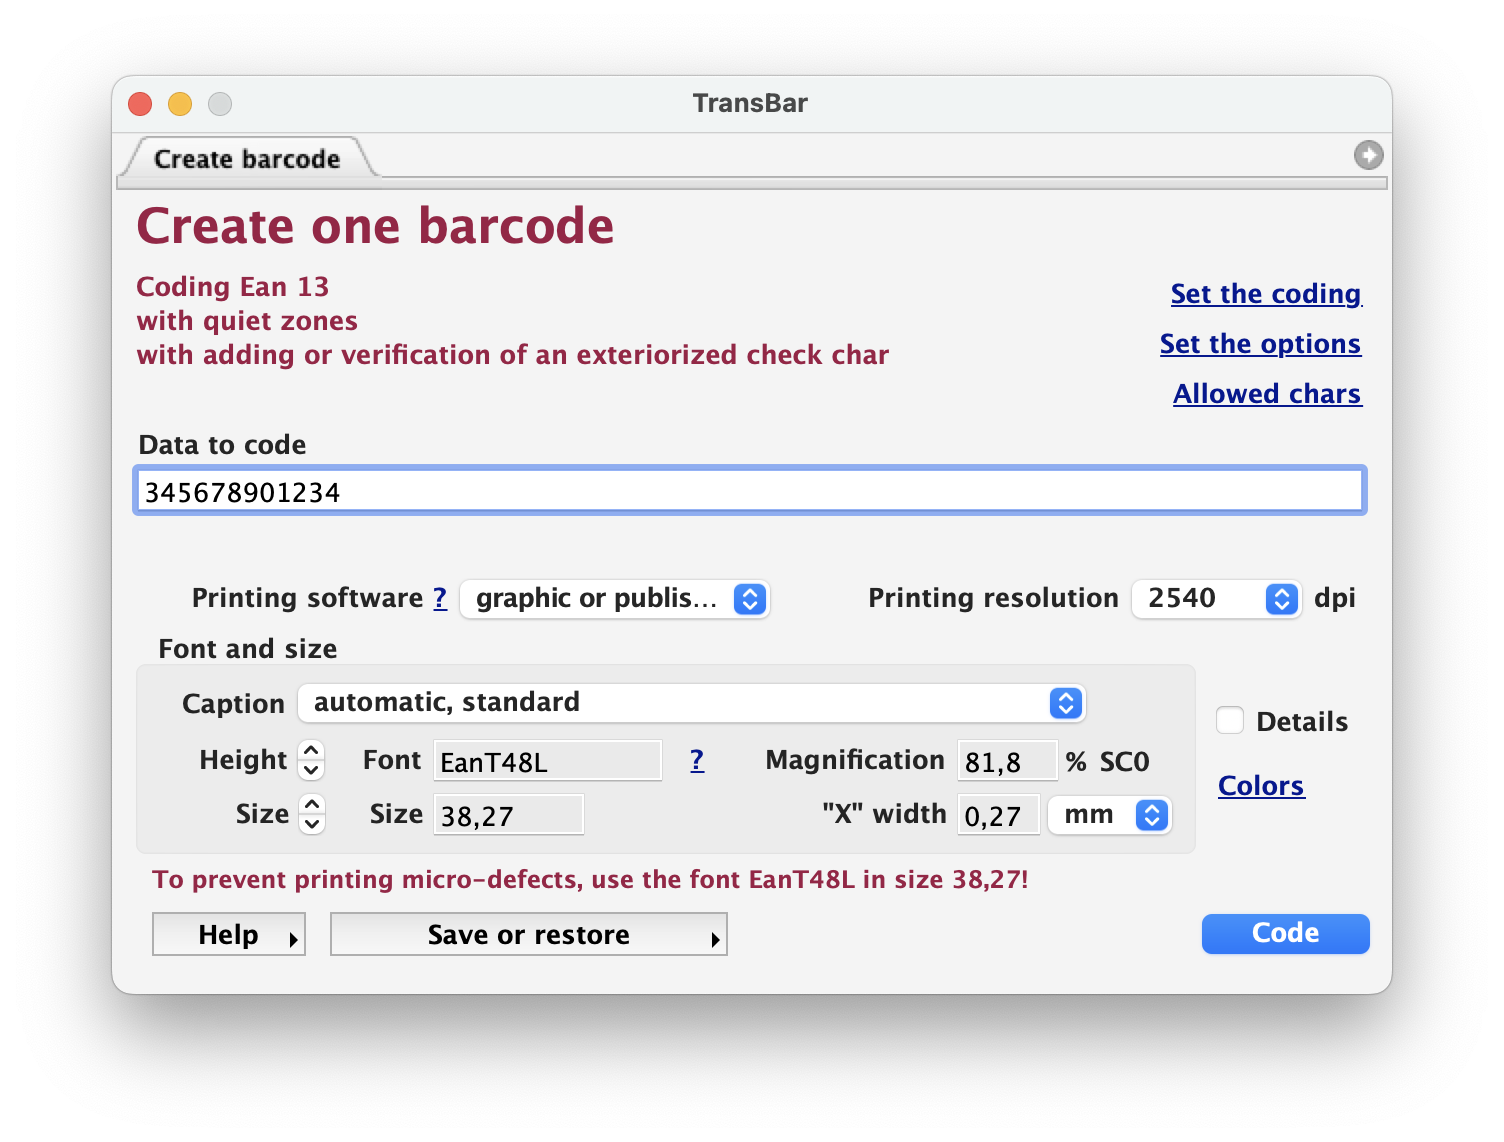
This calculator provides, according to a configurable printing resolution, all the possible adjustment values as well as the overall dimensions, height and width, of the barcodes that can be obtained without micro-defects.

The resolution to choose or add in the pop-up menu is the one that will actually be used for printing, ie the mechanical resolution of the printer or the laser beam. Professional printers will not confuse it with raster resolution, since barcodes must be obtained by 100% solid black text, therefore without dithering. If you don't know the exact resolution that will be used for printing, adopt a resolution of 300 dots per inch: you will have few sizing possibilities but you will be sure of the quality obtained. If your layout software does not allow fractional size input, set TransBar to "word processing" or "spreadsheet".
The vertical scale
Once the size has been adapted both to the print resolution and to the available width, it will still be possible, provided that advanced page layout software is available, to correct the detail of the height by vertical scale. This correction will not affect the width, therefore the adaptation to the resolution. However, in captioned fonts, this scale will distort the caption; it should therefore only be used as a last resort, after selecting the most appropriate font for the desired height.
The horizontal scale
If the layout software can only set the horizontal scale, it remains possible to finely adapt the height of the bars at the cost of a small calculation. Once the size is matched to both the print resolution and the available width, we denote this theoretical size "CT" for future calculation, then experimentally change it to a real size "CR" to achieve the correct height; in doing so, the width has also been modified, which must be corrected by a horizontal scale "EH" calculated according to the formula "EH = CT / CR". We thus find a width which inscribes the bars in the printing grid.